
TeamViewer
At OnSolution, we’re not happy unless you are, so we’re always here to provide support.
One thing that can make life easier for you is if we can jump onto your computer and see exactly what you’re seeing. Luckily, there’s a program that lets us do that. It’s called TeamViewer. It’s really, really easy to install and use. And it’s free.
Here is our guide to using TeamViewer on Windows PCs. The screen shots are from Windows 10, but this will be a similar process if you are still on an old version.
Step 1. Is TeamViewer already installed?
Before we go any further, let’s see if the software is already installed.
- Tap the Windows Key on your keyboard (between the Ctrl and Alt on the bottom left of the keyboard)
- This will open your Start menu
- Type “team”
- If Team Viewer is installed, it will appear in the Start Menu

- Click on it, and proceed to Step 4
- If nothing comes up, proceed to the next step
Step 2. Download TeamViewer
- Click on THIS LINK to open the TeamViewer downloads page
- Look for a Download button. This is what it looks like at the time of writing, but they may change the design.
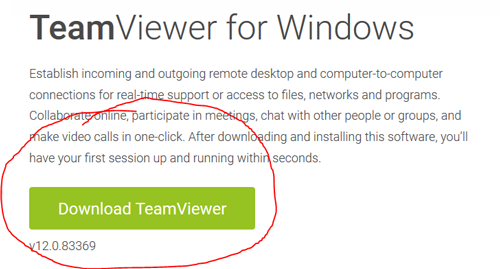
- Click on the button and save the setup file to your computer.
Step 3. Installing TeamViewer
- Once the file has finished downloading, find it and double click on it.
- On the first screen, choose Basic Installation and Personal Use
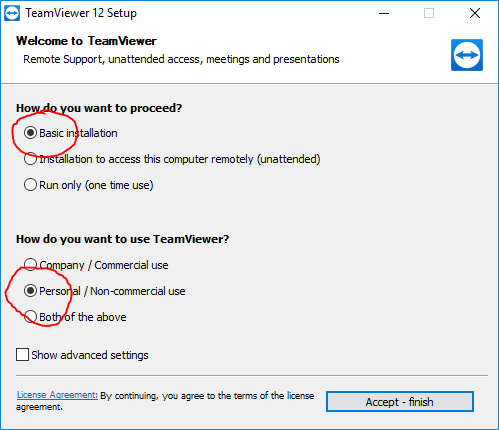
- Click on the Accept button
- Your computer may ask you if you wish to allow TeamViewer to make changes. Click Yes to allow it.
- A Welcome screen may come up showing some of TeamViewer’s features. Click on the close button.
Step 4. Using TeamViewer
You should now be looking at a screen like the one below.
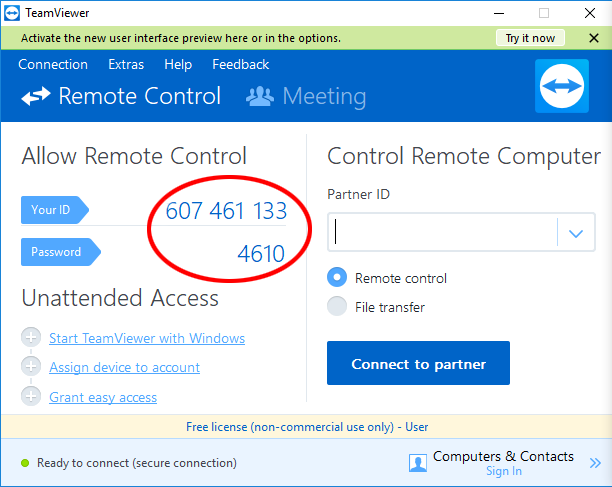
Once you are at this stage, call our Support Line on 02 9614 6417
If you read us the ID number and password, we will be able to see your computer screen and help you troubleshoot.